
Did you know that the Apple iPhone isn’t as popular nowadays?
After all, it only has about 16% of global sales during the fourth quarter of 2018. But it isn’t as severe as Samsung, which saw a decrease in units sold by 3.2 million during the same time period.
Despite the cultural popularity of Apple, most businesses use Windows 10 for their needs. That’s fine and dandy but what if you’re more familiar with the Mac?
We’ve got multiple guides for Mac users, like this one for green web hosting. But what about more complex tasks? How do you SSH from Mac to a VPS server, for example?
If you’re looking for a guide to SSH from Mac, you’ve come to the right place. Read on and learn more about the subject.
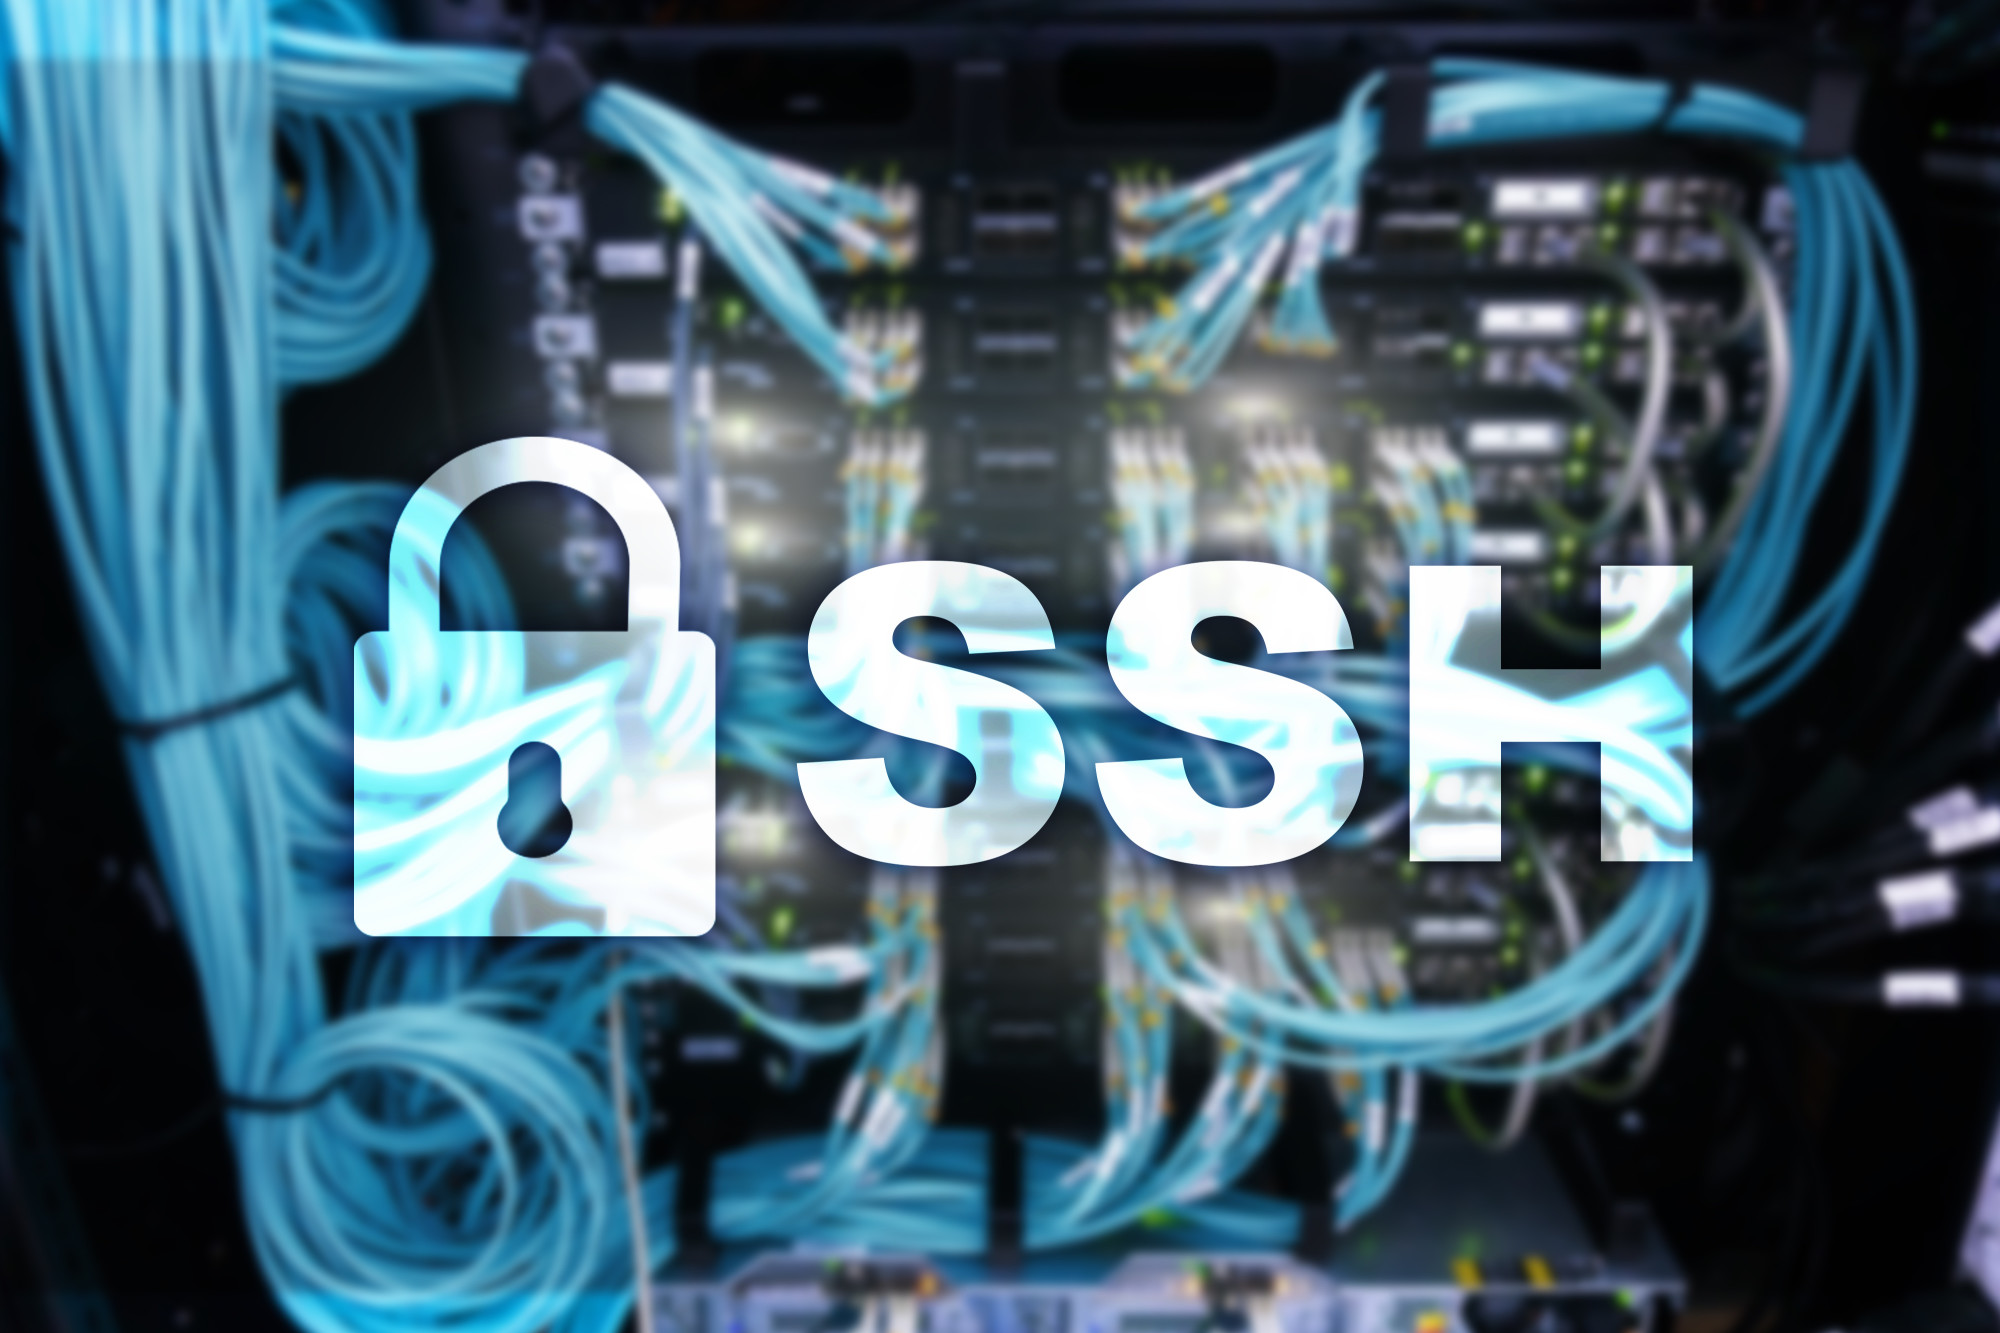
What is Secure Shell (SSH)?
This is a common protocol used to get remote access with the command line interface. A lot of administrators that possess advanced knowledge can use this in a lot of ways. One of these is to gain access to a web server and do various tasks like:
- File Transfers
- Disk usage reviews
- Folder Transfers
- Performance monitoring
The main benefit of using SSH is the secure encryption it gives over other remote access methods. This will protect the stream of traffic going to and from the server. After all, it uses a digital security certificate that encrypts data at both client and server ends.
It’s important to have this security since a lot of criminals will try to track your activity and glean information. It’s rampant crime, with about 16.7 million people victimized by identity fraud.
How to SSH from a Mac to VPS Servers
A lot of the commands used in this guide should run on your own computer unit. The default commands listed are for both the Linux command line or the MacOS X Terminal. Here are some means:
1. Log In and Remote Hose Identification
The first step is to use the Internet Protocol (IP) address and password for your own server to log in. You can do this by using the “ssh” command with the username and IP address as the argument. This is a sample of how it should look like:
- ssh root@123.45.67.890
The system will then the prompt you to put in the password to connect. If you rebuild your server, you’ll get a warning that the host identification changed. The reason is that the remote host has its own identification key when logging in to a server.
After rebuilding a server, that remote key will change. When this happens, your Mac warns you of possible suspicious activity. You can use your web console in the control panel for new server key verification.
Once you’re confident that you aren’t spoofed, skip the verification step. You can now delete the old SSH host key records. On your local computer, check the known_hosts SSH file and remove the lines related to your cloud server’s IP address.
If you aren’t using Linux or MacOS X on your own computer, the known_hosts file might have a different location. Check your OS and search online to know where it’s stored. An alternative is to use a third-party app to help you replace the saved host key.
2. Make a New SSH Key Pair
Use a public-private key pair to protect your VPS server against brute force password attacks while accessing using SSH. The public key is on the server with a matching key located on your local device. By then, you can configure SSH within your new server to use keys when accepting a connection.
The main benefit is that no one else has the means of logging in with the use of passwords. Use these steps to make an SSH key pair for your server:
Step 1
Run this command with the use of your email address label. It should appear as:
- ssh- keygen –t rsa -C “your_email@example.com”
Use your email address for the example in the command. Once you’re done, you’ll receive a message that tells you that your public/private RSA key pair generation is in progress. When prompted, press Enter to use the default location.
Step 2
For more security, you can enter “passphrase” and press Enter. Otherwise, just press the same key to proceed without having to set a password for the key pair. With this, you get a key pair and the result looks like this:
- Your identification saved at /LocalFileLocation/id_rsa.
- Public key saved at /LocalFileLocation/id_rsa.pub.
As an option, you can add a brand new key to the local ssh-agent. This will allow SSH to access your key without requiring a specified location. It does this whenever you try connecting.
Logging in to VPS using SSH in Mac OS
After generating the SSH key pair in the SSH//Shell Access in your cPanel, you need to copy the private key from it. Save it to a text file on your local computer. Load this private key into the current SSH-agent utilizing the available Terminal.
Use this following command: ssh-add /User /youruser /private_key. Always double-check to replace these values with the private key text program. Type in your key password from the one you generated using cPanel.
You can connect using SSH using this command: ssh USER@HOST_NAME –pPORT. Replace the values with the right ones using this guide:
- USER – user desired for SSH connection
- HOST_NAME – Host/IP of the server desired
- PORT – the port for the connection
Once you’re done, press Enter to finish the process. If everything got set in a correct manner, you’ll have the SSH connection to your VPS server.
Learn to SSH from Mac Today!
It isn’t that difficult to access your VPS using your Mac terminal. In most cases, you need basic Mac knowledge to input these codes. If you’re not that familiar, you can try following this guide to connect to your VPS via SSH from Mac.
As long as you have the right set of information related to your server, you’ll finish it without problems.
Do you need help with anything related to Mac? If so, you can contact us today and we’ll gladly assist you. We have the right set of expertise to help you with your projects, especially web hosting plans.