
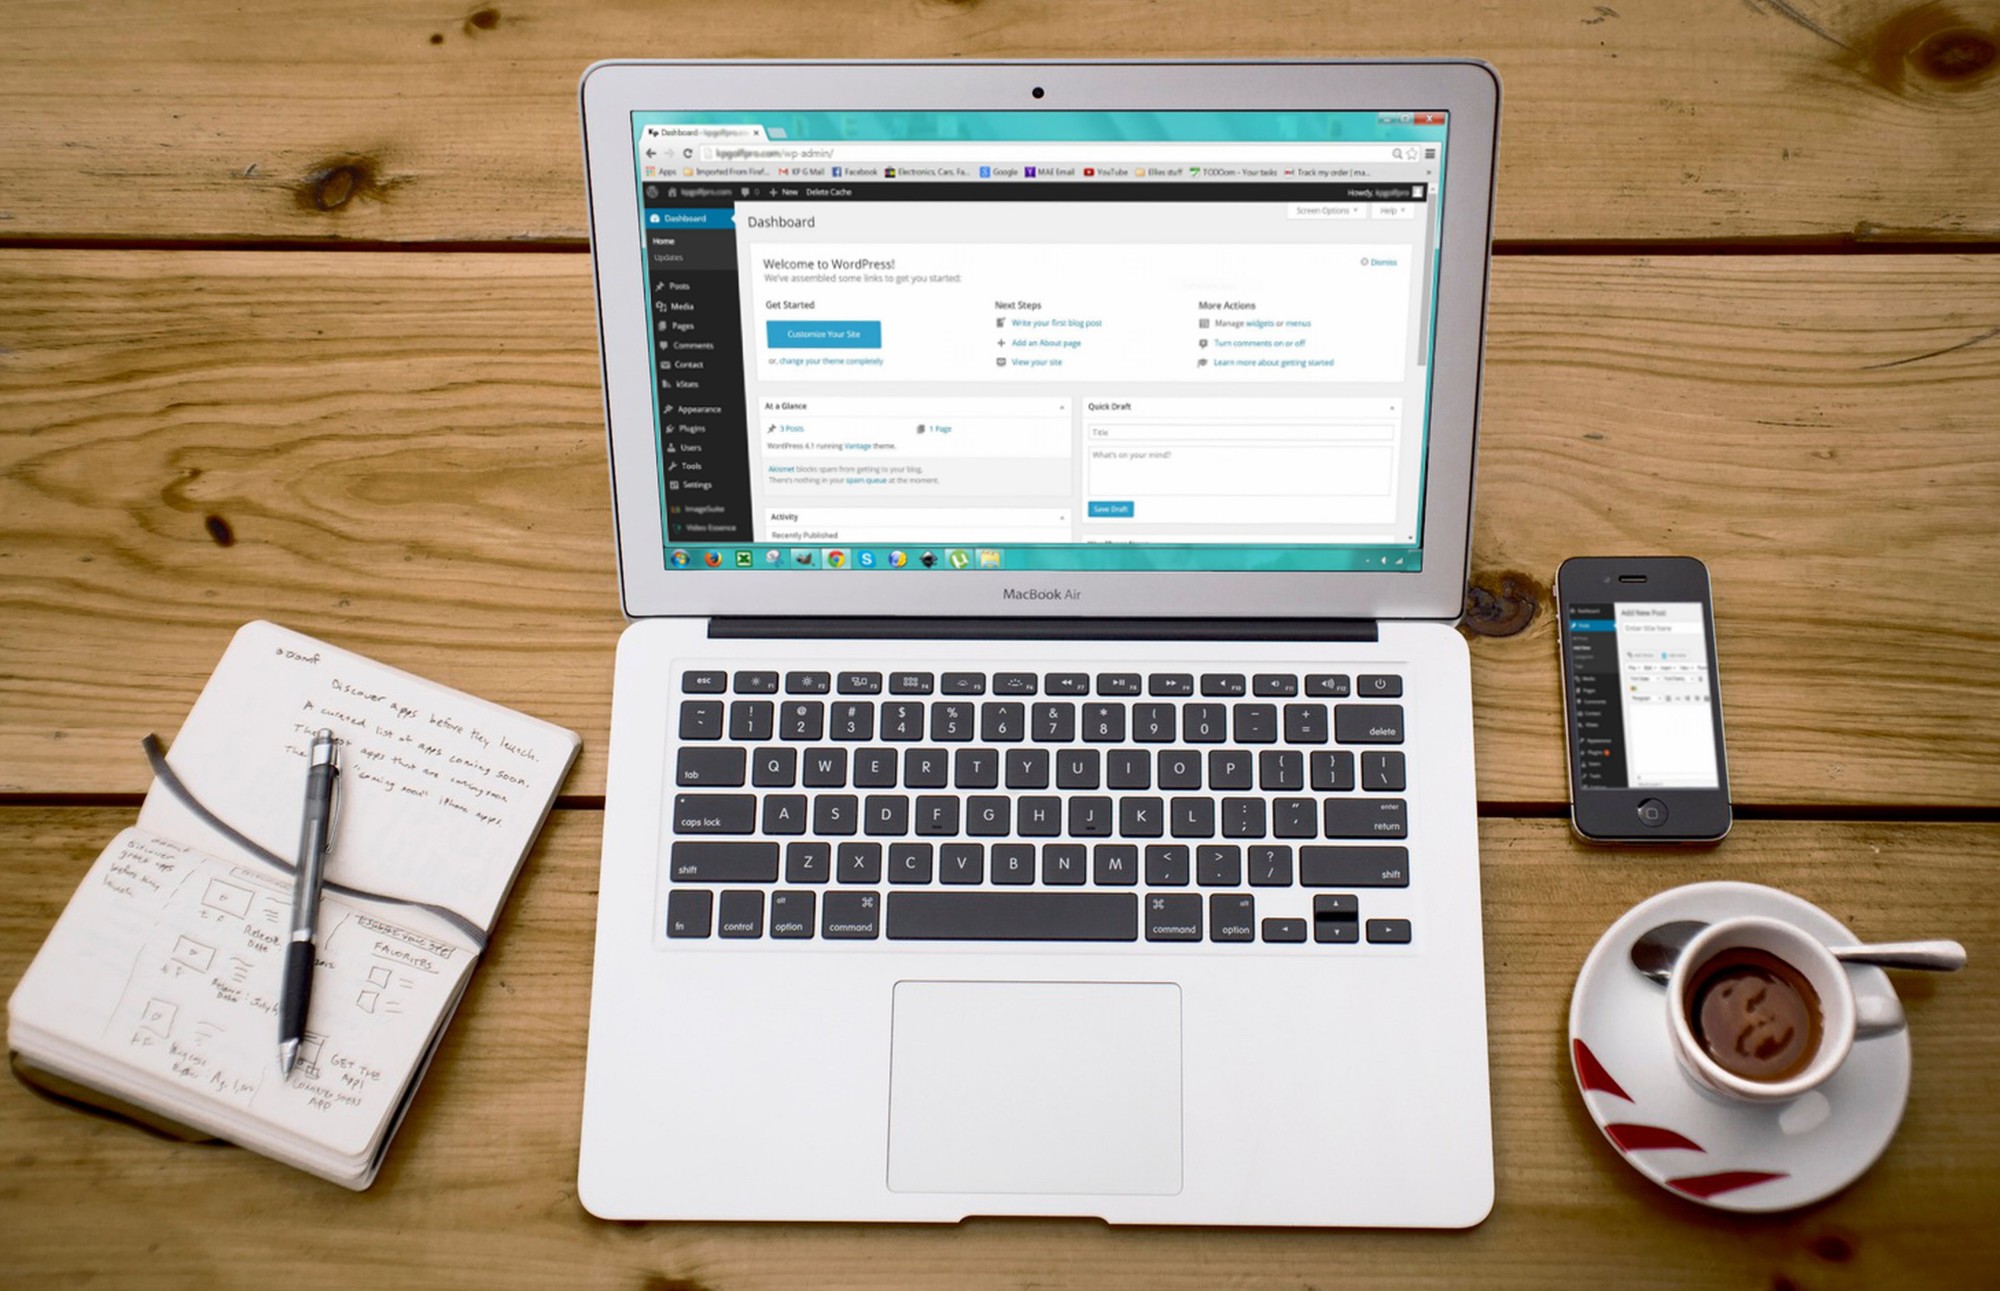
Wordpress is considered one of the most flexible content management systems (CMS) out there. It can host anything from a simple blog to a busy company website. In fact, in recent years WordPress’ backend has become easier to use. It’s a paradise for freelancers waiting to be nurtured
And if you’re hooked on starting a project on WordPress, self-hosting is the answer for you. Here’s why. Setting up a local installation of WordPress from Mac OS X sounds unnecessary but it has more benefits than you can begin to imagine.
Here are three things that you know can affect your client base and productivity hours: remote outages, unexpected travel, and unsatisfactory network coverage.
So for purposes of speedy internet service, reading a connection directly from your local disk is always quicker.
Localhost
Taking the time to set up your Localhost on your Mac is easier than most people think. If you don’t want to surprise your clientele with an unexpected site crash due to serious website development, go forward with a local installation of the web host.
You’re not only going to manage a stable working environment but you won’t lose your productivity flow because of testing impact or setbacks. Let’s get you started.
Download the Latest Version of WordPress
Download the latest version of WordPress as a zip file by visiting WordPress.org. Click the Download WordPress button. Then go to your user directory and create a new folder called “Sites”. Keep the .zip file at bay since you’ll need it later.
A Few Things About Configuring Apache The Apache HTTP Server and PHP language are already on your computer so you can just confirm they are installed by checking the current version for each of them in the command line.
You’ll need to make a few adjustments before running the Apache server. For all, you coders out there, feel free to use any text editor such as vim, nano, or code. Consider the idea of working on small things within the Apache configuration file like:
1. Enable vhost
2. Enable rewrites
3. Enable PHP
4. Change default location for projects
5. Enable .htaccess
Installing WordPress from Mac OS X
Before you download the latest version of WordPress you will need a local WordPress server. Without this, you won’t be able to test your theme codes, plugins or whatever you develop. But don’t worry. Today is much easier to set up a development environment because of all the options out there that can do the job for you.
Choosing a setup can be complicated because there a lot of options available. But for this article, we want to focus on MAMP.
If you don’t have too much knowledge about server administration MAMP is a good option for you. Everything is controlled from a single panel and you get access to additional software. These include Python and Pearl.
The application is designed to give you all the components necessary for running WordPress locally. MAMP is short for Macintosh, Apache, MySQL, and PHP. The application gives you access to a local Apache server and open source server.
MAMP’s four components:
1. Macintosh: operating system
2. Apache: open source web server
3. MySQL: relational database (WordPress sites use MySQL databases)
4. PHP: server-side scripting language
These components help you create a local web server on your computer. This makes everything easier for you. And this is what you need to know about MAMP:
- MAMP allows you to tests anything on your existing site from your computer. You can make big changes or build an entire site from scratch, locally. You won’t have to worry about any crashes on your live site again.
- Since MAMP doesn’t rely on an internet connection or communication with a web server you’ll be able to work on a faster environment. This perk also includes working offline.
- Your site won’t be hacked or go through a security breach
You can get a quick start with the MAMP standard free package, or upgrade to the premium version available in MAMP PRO. This option starts at $59 for Mac OS and includes a built-in-editor and a mobile testing tool.
However, for basic needs, the standard version can work perfectly fine.
In addition, you will have to install your WordPress on the server directly following the MAMP installation instructions. But more about that soon.
When you download the package double-click on the MAMP disk image, drag the folder to your Applications folder and proceed from there. Before moving on to the WordPress installation make sure you link MAMP with your Mac.
Start by clicking on Preferences, select Ports and then select Set Apache & MySQL ports to 80 and 3306.
Now it’s time to set your Document Root. This is a folder where the website files for a domain name are stored. Let’s say your domain name is “coffee 101”. By default, this will be located in the MAMP Application directory, but you can move it to wherever is most convenient for you.
Creating a Database
In order for WordPress to work locally on your computer, you need to create a database for your install to live on. Secondly, you have to create a user for that database with the appropriate privileges.
MAMP comes with phpMyAdmin, a convenient tool for managing MYSQL databases. These databases are used to store data on most websites and web application. Every time you want to create a new WordPress site locally you have to create a new database.
So you can start it up by opening up the Tools menu on the MAMP home page and launching phpMyAdmin. Then you can click on the Databases tab, enter the name of your database in the Create Database field and click Create.
Then navigate to the Users tab, add a user and enter a name and secure a password. Switch the host to local, return to the Users tab, select Edit privileges and then click Check All and save.
Unzip the WordPress Install
Now you’re ready to locate the WordPress installation .zip file you downloaded earlier. After you double click the .zip file, you’ll get a WordPress folder. Rename it, grab the folder and store in your Sites folder.
Then go to your web browser and type in the URL pointing to your site folder. It can look something like this: localhost:8888/coffee101. This is because of the hypothetical folder name we used for your root folder which is “coffee101”.
After a few clicks, a screen will pop up and ask you for your database information. In this window, you will type in all the information found on the database you created earlier in phpMyAdmin. After you give WordPress the database’s name and enter “root” for the database username and password click Submit.
Things to Consider
Well, you’ve made it to the end. Now you can start developing a WordPress site on your computer! But remember that you have to log back if you turn off the machine. Logging in is pretty simple, just follow these steps:
1. Turn on your MAMP server by opening the application.
2. Visit the UR, with the folder name we created (which was “local:host:8888/coffee101”)
3. Add “/wp-admin” after the folder name. It should look something like this – http://localhost:8888/site-directory/wp-admin
If you’re ready to create another local WordPress site, follow the same steps explained above except the MAMP installation process. Plus, you will need to do a few other things:
- Unpack a WordPress zip file.
- Rename the folder so it correlates with your new site and store it in the “Sites” folder.
- Set up a new MySQL database for the site in phpMyAdmin.
- Go through WordPress’ five-minute install
Amp Your Optimization Flow
After you’ve covered basic local development in WordPress why not try taking it to the next level? After familiarizing yourself with your local environment, you’ll likely want your set up to reach a level of complexity and sophistication.
Here are a few topics you may want to consider exploring:
1. Desktop Server is a tool for automating and managing steps like the ones you just followed. Just think multiple local installs. It can also be used to sync local sites with live environments.
2. Varying Vagrant Vagrants (VVV) is an open source configuration focused on WordPress development. It’s ideal for developing themes and plugins. For a greater intro to the concept visit WebDevStudios.
3. Explore Development Workflow outside of the local environment. Learn more about it by reading this article about WordPress multi-environment configurations.
Ready to Edit Outside the Browser?
Once you’ve set up WordPress from Mac OS X consider installing more desktop tools that support WordPress’ platform. All these desktop blogging tools work without Internet and that is a recipe for increased productivity. So let’s talk about a few them.
1. MarsEdit: It’s considered a long time Mac software. It allows for rich texting editing and it’s perfect for professional blogger and writers who want to avoid clunky web-based interfaces.
Other perks:
- The application includes autosaves
- Word count and reading time
- It lets you add imagines from your desktop through a simple drag and drop
- You can add tags, categories, and a featured image.
A MarsEdit download from the App store starts out free.
2. Snag It: The imagine editing tool was created as a Mac image editing application. It lets you edit and resize screenshot images before adding them to your blog post.
So if you’re regularly sharing visuals on your website or social media channels the app makes it simple for you. Another image tool you can take advantage of is ImageOptim.
It’s a free lightweight image compression tool for Mac. Simply drag and drop the image on the ImageOptim work window and it will do the compression automatically.
3. Integrity: Want to make sure your links are running smoothly? Integrity is like an SEO toolkit for your Mac. It scans all the links of your blog and identifies the broken ones.
Although WordPress already has a broken link checker, if your website is huge the broken link checker may end up freezing your hosting. It’s a free app and you can download it for free from the Mac App Store.
4. Flycut: If you want to improve your workflow why not try a digital clipboard manager? Flycut, for example, works as an open source clipboard manager. Use it to manage everything from snippets of code, basic text, or URLs.
When you open the app, you’ll see Flycut’s icon displayed in the Menu Bar. When you start to copy and paste snippets you can access them by clicking on the icon, then right-clicking the snippet you want to work with. For a shorter process press shift+cmd+v, and use the left/right arrows to navigate your clipboard library.
Here’s a quick list of other Mac apps for everyday blogging:
- Adobe Photoshop LightRoom
- Evernote
- Gramblr
- Versions
- MPEG Streamclip
Final Words
Managing WordPress from Mac OS X locally is very useful. Whether you’re a beginner or a longtime site owner, the optimization options for your WordPress project will elevate your brand or product to a whole new level.
Whether you choose MAMP or any other local WordPress development tool, remember they aren’t made equal. That’s why it pays to do some research into all the options out there, and benefits each one has for you. Read this article about Mac-based environments and web hosting to familiarize yourself more with approaches you can take on it.
Have you set up your testing environment? What are your thoughts on local WordPress development? Let us know in the comments below.